


Picture upload guidelines
How to Upload a picture
You can upload any image from your computer directly to the website using the Picture Upload page (you need to be logged-on to use this!). Simply choose your file, give it a Title and click the 'Upload Picture' button. When the file is processed you will see a preview copy - you can reject this if not happy - or just continue. Please remember to wait for the file to be transferred from your computer to the server - this will obviously take longer for bigger files. You can get to the Upload page quickly by clicking the 'picture upload' button in your toolbar.Picture Title
The Title you give your picture is important. This has the same naming rules as a 'Page Name' (you can use letters, numbers, spaces, or - . ( ) ! ' ) and should be used in a similar way to a page name. The Title is always used to refer to this picture once it is uploaded. All picture titles must be unique and should reflect the image content.Picture Location
Optional. You can state the location for the picture here. Locations are useful particularly if they can be resolved using our Locate function. This allows anyone to 'visit' the location for the image. You can use place names, grid-references or "latitude, longitude" and you can also state this as "position:location" (that is with a colon between the grid-reference position and the named location). Examples for place name: Grays, Essex; for grid reference or latitude, longitude as in ST543210:My location. Don't use spaces within the grid reference.If your picture comes from a GPS enabled camera then the server will extract the position. If you give no location then the camera position will be used, if you give a named location then the position will be prefixed to your given location. This will also help to identify pictures of species taken outside the county.
Picture Subject
If you want your pictures of species to be included in species accounts and the left page window thumbnails, then the image subject must be the binomial taxon name.Picture Credit
The picture Credit should acknowledge the photographer and/or the copyright holder. You can add the date taken to this if you wish. For example: 'A Photographer 2005', or 'A Photographer, May 2005' etc.File Size
As any web page takes time to download we run the risk of losing viewers and large images are a big culprit here. Picture files must be made as small as possible - whilst maintaining the best quality we can. A number of rules are applied to any file you upload:- Files that are bigger than 2M bytes are rejected.
- Files that are larger than 720 pixels in width or height are automatically reduced to this 'house' size. Their aspect ratio is preserved. The online processing to resize your image uses bicubic re-sampling to preserve quality and renders a jpg at 97%.
- Files should be in jpg or png format - jpg is preferred for general 'photo' images and png is better for 'line-art' or graphics.
- You can choose not to have your image processed: if you have an image that is bigger than 720 pixels but you have pre-processed this for use on the web and it doesn't exceed the size limit of 1. above, or, you have already done the house style optimisation yourself.
You should make every effort to make your pictures small and suitable prior to upload - using any Photo Editing software. If you have pre-processed to 720 pixels max height or width, then tick the option 'do not process my image'.
Note that is isn't just the number of pixels that affects file size. The 'quality' of jpg files (measured as a % with 100% being a perfect lossless image) also determines size. If you can adjust this quality when making smaller images: then try to reduce this to a number where image quality is still acceptable. Even a small % reduction (from 100%) can make files much smaller - without any noticeable change to the image.
House Style
The suggested size limit of 720 pixels wide or tall is a 'house style' rule. If all pictures generally conform to this then there is a consistency for users. This size is chosen to be large enough to provide useful images whilst keeping their file size down. This size also fits in well with the general page layout - allowing the 'snap' image to fill just over a half page. When preparing your images you should aim for this size and adjust the jpeg quality to the lowest value that gives you an acceptable result. There is no reason why you shouldn't use images that are smaller or larger than 720 pixels wide or tall - resize to suit you needs prior to upload.If you can't easily pre-process your images: then just upload the files (provided that the original file is less than 2Mb bytes!) and the server will convert them to 'house style'. Pictures taken directly from digital cameras now are much too big however - and generally need to be re-sized first. If you can reduce to say 800x600 first, then the server will handle these.
Please Note: the house style is advisory only. If you feel that your image would be best larger (or smaller) than 720 pixels then size accordingly. A normal page full width is 760 pixels and a blog article width is 580 pixels.
Using a Picture File in a page
To use your picture file in a page, give the Title in markup as [[picture:Title]] - for example [[picture:Emperor Dragonfly wtcp]] would show as below (note this is also centred on screen using [%...%] markup):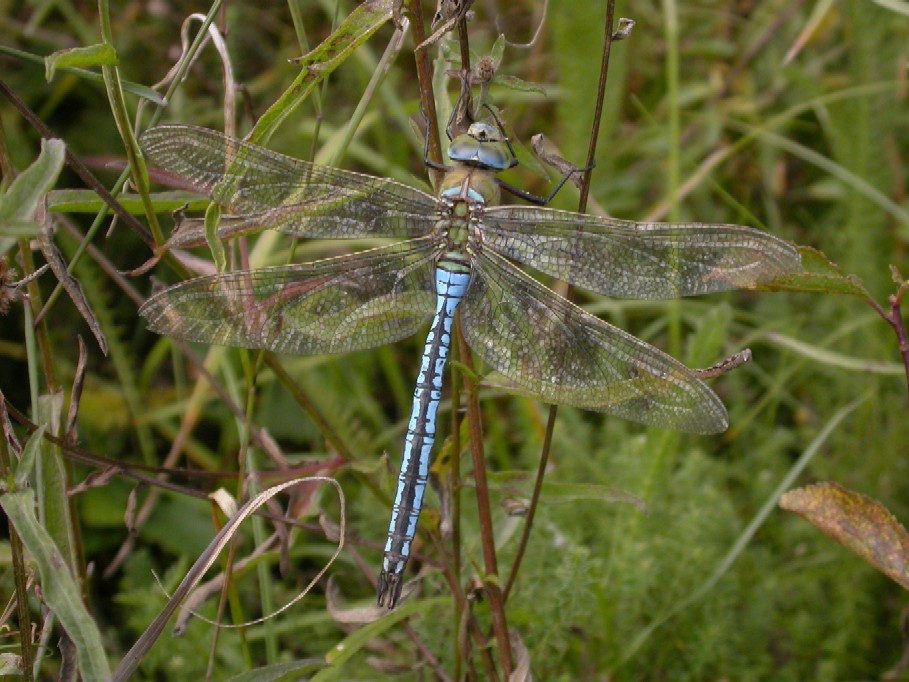
You can include the credit in a page using markup as [[credit:picture title]].
You can include the location in a page using markup as [[location:picture title]].
Snaps
When you upload your picture a 'snap' image is created automatically. This can be used to show the image in a snap view. You can use this image in any page with the following markup: [[snap:Title]]. Snaps also have the added property that they can be clicked and will link to the main image. For example [[snap:Emperor Dragonfly wtcp]]:Thumbnails
When you upload your picture a 'thumbnail' image is created automatically. This can be used to show the image in a small view (and hence quick to download). You can use this image in any page with the following markup: [[thumb:Title]]. Thumbnails also have the added property that they can be clicked and will link to the main image. For example [[thumb:Emperor Dragonfly wtcp]]:
Picture Style
You can modify the picture or thumb markup to include a named style to apply to your image. This is done with: [[picture:picture title|style]] where 'style' is any css class name. Useful built-in styles are 'left' and 'right' to float the picture against respective page edges and flow text around it. Style is optional and if no style is given the default 'picture' css class is applied. For example, in this paragraph we use the right float class as [[thumb:Emperor Dragonfly wtcp|right]].
See also: Pictures Recently Uploaded - Markup Reference - Picture Upload